![[AT-43 emblem]](img/at-43.png)
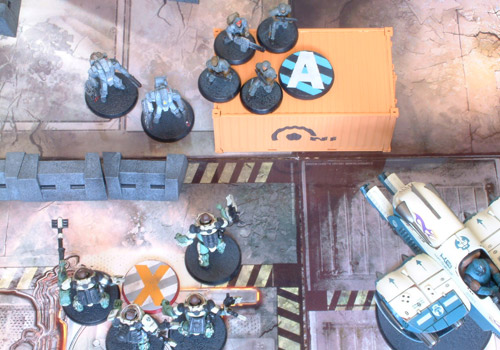
The maps in AT-43 scenarios typically indicate objectives and deployment points using letters in a circle, but leave it up to you to find a way to indicate where exactly these points are on the surface you actually play the game on. Inspired by a post on the old English-language AT-43 forums, here is a way to quickly and easily make your own markers—and to the same relative scale as those shown on the scenario maps, too!
The markers are easy to make, and only require some basic items: small discs and self-adhesive letters; you may also want paint and masking tape to create additional effects.
The size of the markers shown on the scenario maps works out to be about 4 cm in diameter, so for most accurate results, you will need discs of the same size from which to make the markers. Luckily, these are easily available: 40 mm is a common size for plastic bases supplied with wargaming figures, and so they can be purchased in many game stores, both in the real world and online.
The type used in this article is by Games Workshop, who sell a set of 40mm Round Bases, which contains five. Other companies that sell them include Gale Force Nine (sets of nine magnetic bases, handy in case you have a steel gaming table), Litko (bases in different materials and thicknesses), Privateer Press (sets of eight bases with a rounded edge), Rackham (sets of five bases in the exact style used for AT-43 figures), and many others. You could also cut your own from thin plywood, plexiglass, or similar material using a hole saw.
The easiest way to put the letters on the markers is to use self-adhesive letters, which are typically made of some vinyl-like plastic and come on a sheet that they can be peeled off from. Which letters you need depends on what markers you want to make, exactly, and how many of each you need, but the missions in the AT-43 rulebook, Operation Damocles and Operation Frostbite require the letters A, B, C, D, E, F, G, V, W, X, Y and Z.
The letters used in this case are 30-mm high ones by Dutch manufacturer Pickup, to be precise their set No. 013#0030, capital letters in the typeface Largo. Other manufacturers and/or typefaces are also available, so check places like hardware stores in your area. The size you need should be a bit smaller than the diameter of the discs you will use, but it is a good idea to take the largest letters that will fit so they are easy to read from across the table.
For best results, you will need a few colors of spray paint. Just about any kind will do, whether intended for wargames figures, scale models, cars, or another application: as long as it is good for use on plastic, you should be okay. Depending on what effects you want to achieve, a few colors of regular gaming or modeling paint will also be needed.
Think about the way you want the markers to look before choosing your paints. In the case of the markers shown here, the idea was to make markers with hazard stripes in two colors, and use another color for the letter, so three spraying cans were needed. In addition to this, some weathering was to be applied and the edges of the discs painted, meaning two colors of normal paints were also needed.
To create hazard stripes or similar effects, masking tape is almost a necessity. You could paint these effects on by hand, but it is much easier to mask them off and use spray paint.
Used here was Tamiya 6-mm wide masking tape, which is a good width for stripes on 40-mm diameter markers as it will allow some seven stripes to be put on them, making it obvious what they are supposed to represent. You can also use wider tape if you want, or cut wide tape into narrower strips; to do this, put a length of tape onto a piece of glass and use a steel ruler and a sharp hobby knife to cut it into strips.
The quick & easy way to make markers is to simply stick a letter to a base and be done with it. If this is satisfactory for you, go with it—but with just a little more effort, you can make the bases look much better. The following illustrated example shows how.
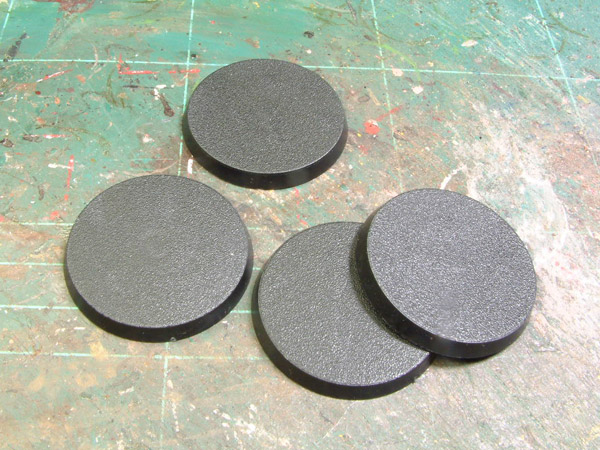
This photo shows four of the bare bases, before any painting was done on them. They are slightly thicker than AT-43-style bases and have a more tapered edge, but they are the same size as the bases used for type ★★★ infantry.
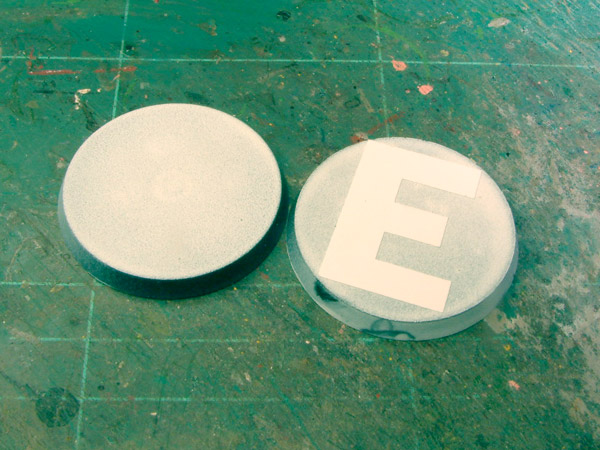
This is nothing more than some bases that have been spray-painted with white primer, because that is to be the color of the letters. By applying a letter and then spraying over it all, the white will eventually remain visible there.
The base on the right also has a self-adhesive letter E applied to it. The 30-mm letter only just fits the base, but that is good because it means it will be more easily visible from a distance than a smaller letter would be.
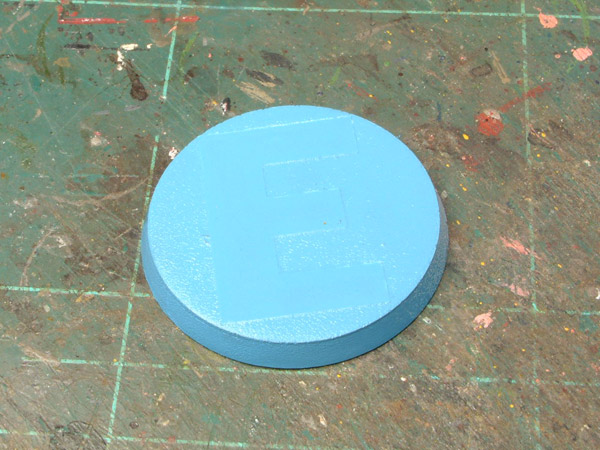
This is also the base with the letter E on it, but it has now been sprayed light blue—you can just make out the letter under the paint. This is the first step in making a blue/black hazard-stripe pattern: the blue will form the painted
stripes on a black road surface,
but because it is better to paint dark colors over light ones than the other way around, the blue has been applied first. The paint used was some automotive spray paint found in the garage, and which happened to have a color that seemed to be suitable.
Since the paint also covers the adhesive letter, that now forms a mask: by removing it, you would have a blue base with a white letter on it. However, we are not finished yet.
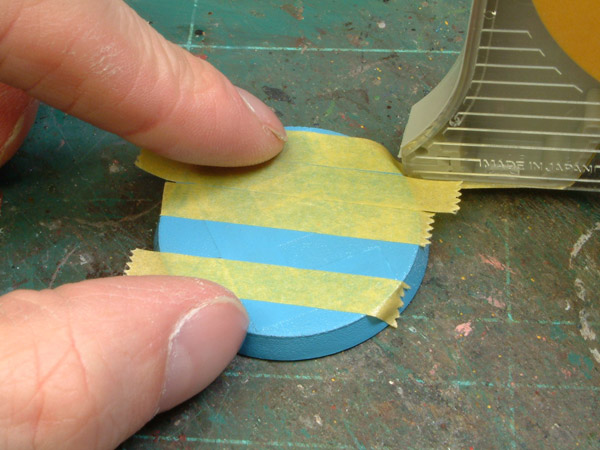
This photo shows the application of masking tape strips. The idea is to mask off the parts that should remain blue, but because they are supposed to be hazard stripes, they should be parallel and evenly-spaced. Luckily, this is easy enough to do: first take a piece of masking tape and stick it to the base to act as a guide, then put another piece of tape along each side of it so you have three parallel pieces. By removing the middle piece of tape, you have two parallel bits of tape; if you now put the first piece alongside one of the other two, you can repeat with a fourth length of tape, and all pieces will be the same distance apart. This is shown in the photo: the second piece of tape from the top (below the one that is still attached to the dispenser) is the guide.
Also note that for hazard stripes, it is best to put the tape at about a 45-degree angle to the letter, because these stripes tend to be diagonal.
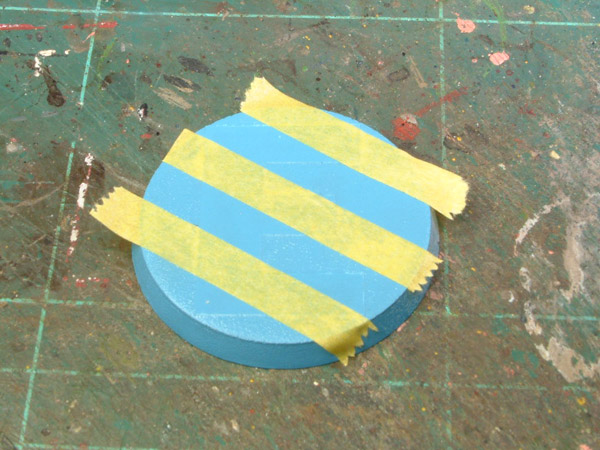
With all the tape applied, this is more or less what you should end up with. With a 40-mm base, three or four stripes is the maximum you can get on with 6-mm masking tape.
After this, simply spray the whole base with the color you want—in this case, black from another can of automotive spray paint.
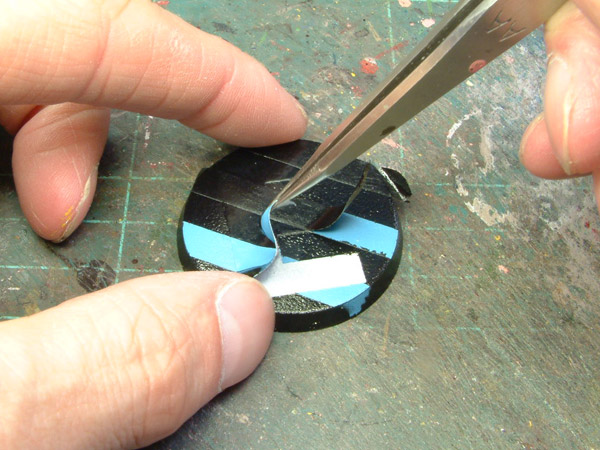
After the black has been applied and left to dry, it is time to remove the tape and letter. The tape is probably easy enough to pull off by hand, but the letter may require pointed tweezers or the tip of a knife to get hold of. Be careful to avoid damaging the paintwork when you remove the masking materials.
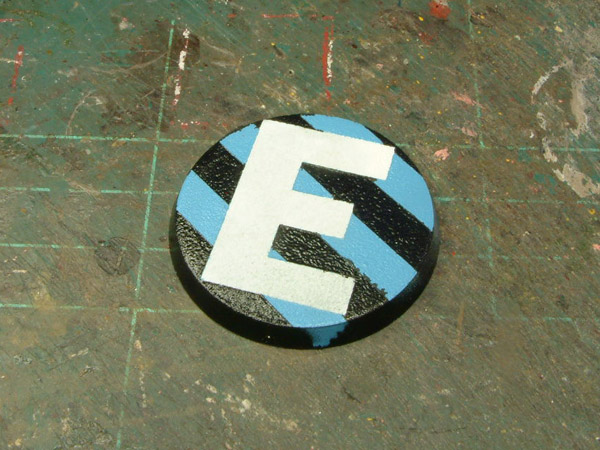
This shows the result: a base that looks black with blue lines and a white letter on it. All it needs is some finishing touches.
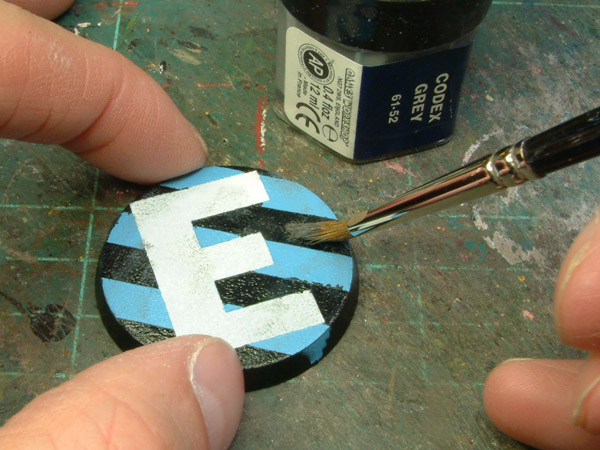
To represent some wear, the marker was drybrushed with Games Workshop Codex Grey, but just about any other medium gray will do to represent a concrete-like surface. You could also use other colors, for example metal or rust, to create other effects.
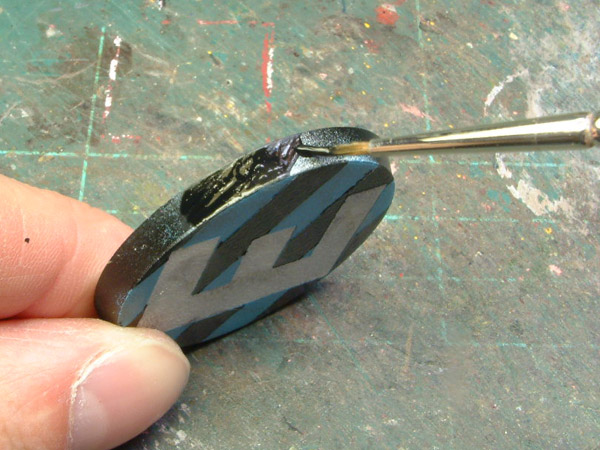
To finish off the base, its edge was painted black. The object of this is to create a neat-looking edge to the marker, without the overspray left from the previous colors.
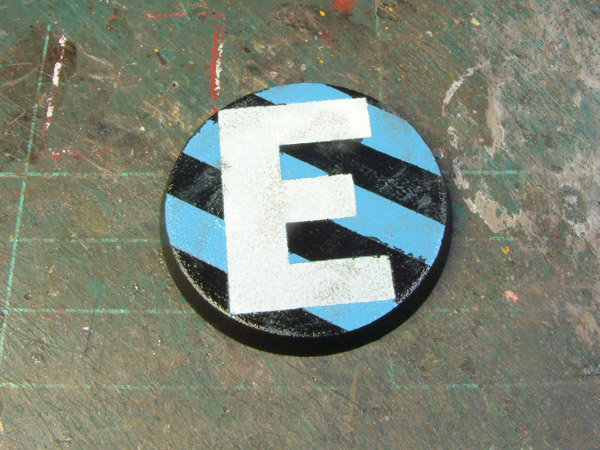
This, then, is the completed marker. To protect the paint, you can apply a clear coat from a spraying can; it is best to first spray on a layer of clear gloss and let that dry, and the follow it up with matt or satin varnish.
Drybrushing consists of putting paint on a brush and then wiping most of it off on a cloth or tissue. By then applying the brush to the thing you want to paint, the paint will only stick to relief and edges, so you can accentuate detail. Another use is to make things look dirty or worn by drybrushing with a color that replicates dirt or the color of paint that would be underneath the outer layer of paint on the real thing.
It is easy to put too much paint on the brush, so better err on the side of caution when practising this technique. It is always possible to drybrush some more if the result is too subtle, but it is very hard to remove paint if you applied too much.