![[AT-43 emblem]](img/at-43.png)
Normally, the stairs that are on one side of the raised tiles in the City Levels set of the Battle Grounds terrain by Australian company CNC Workshop start at the bottom left, but because all the terrain is built from flat pieces, it is not very difficult to assemble one as a mirror image. This does require some cutting of the roof, however, because that is obviously designed to accomodate the stairs as they are intended by CNC Workshop.
The easiest part of this conversion is the stairs themselves. Assemble them as in steps 1 and 2 of the instructions, but the other way round
— that is, flip the floor plate over in step 1 so that its flat side is uppermost, and in step 2, glue the steps to the side of the wall that does not have any detail on it.

After mirroring the stairs, be sure to also assemble the side wall in step 7 of the instructions in mirror image, else it will not fit with the stairs in step 10.
The roof is the most involved part of the conversion, because it needs to be changed to accomodate the new location of the stairs, but even this does not need all that much effort. You will need a good hobby knife and a steel ruler for it, however.
When making the cuts shown in the example below, don't try to make one deep cut that goes all the way through. Instead, make many shallow cuts by not putting all that much pressure on the knife, until you eventually get through. This way, the cut will be neater as well as much easier to do.
When you need to use a straight edge to guide the blade, take a steel ruler — you will cut into plastic or wooden rulers if you're not careful, which means they are no longer straight.
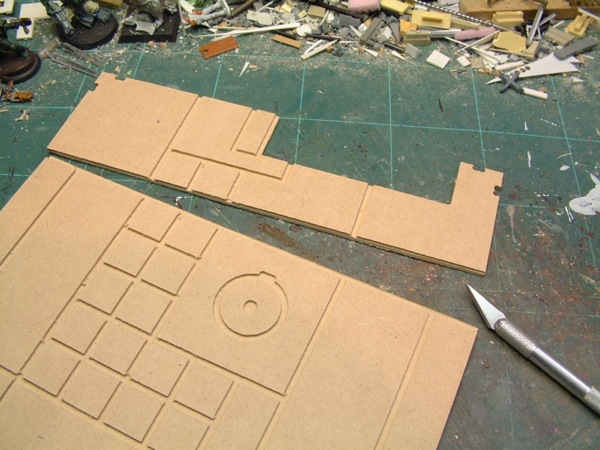
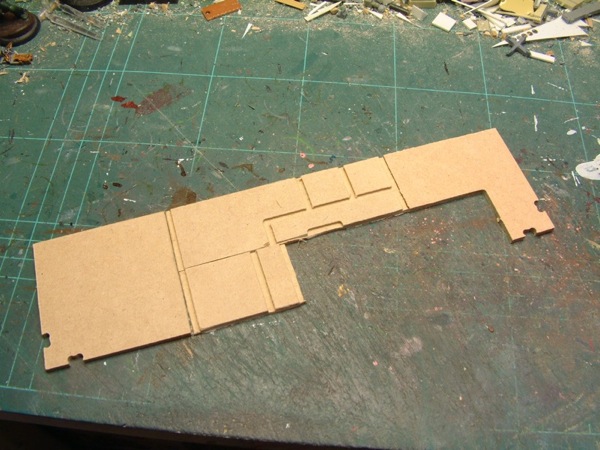
The roof cut into two using a hobby knife. If you do this carefully, it does not require a steel ruler: just cut along the edge of the groove in the plate, and that will guide your knife.
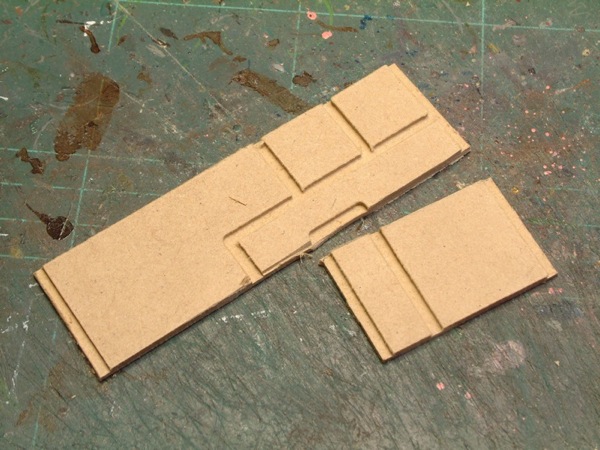
The larger of the two roof sections can be set aside, as it will be used as-is. The smaller of the two, though, needs to be cut into more pieces. Start by cutting it in three as shown here by cutting the corner sections off in the same way as before. Make sure the cut runs tightly along the corner pieces, so no parts of the groove are attached to them.
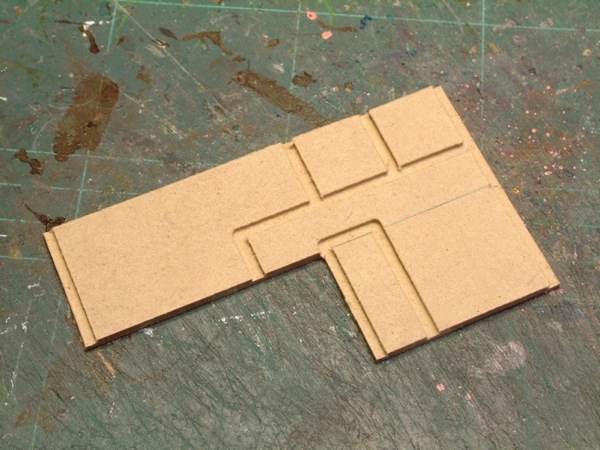
This is the central piece of the three, and needs to be cut once more. The line to be cut has been pencilled on in the photo, and basically is an extension of the gap
in the piece. For this cut, you will need a steel ruler because there there is no groove to guide the knife. The material is also about twice as thick as for the previous cuts (because those were inside the grooves), and so will take longer and more care to do properly.
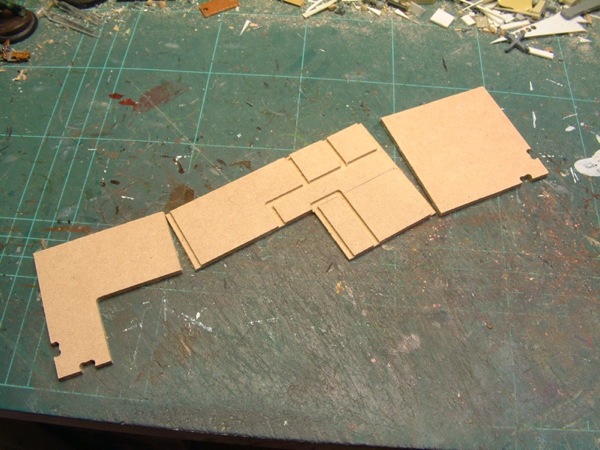
This is what you should end up with after making the last cut.
After cutting, you should be able to dry-assemble (that is, without glue) the pieces as shown here. It is better to only glue them together when you are ready to put the roof on the tile, as that way you can make sure they will fit properly.

This photo shows an additional modification to one of the pieces, namely to cut a slot into it beside the top step of the stairs. This is present in the non-mirrored part, so it looks better to also add it for the mirrored version. To do this, you will need a sharp hobby knife, and preferably two: one with a pointed blade and one with a chisel-shaped blade; both are shown in the photo. Measure the dimensions of the original slot, and using a pencil and ruler, draw it in its new location. Then use the blades to cut the material away: it is easiest to use the chisel blade to make most of the cuts, and the pointed on to remove the rounded bits at the corners.
If you're not sure of yourself, practice on some of the leftover material first until you get a feel for the technique.
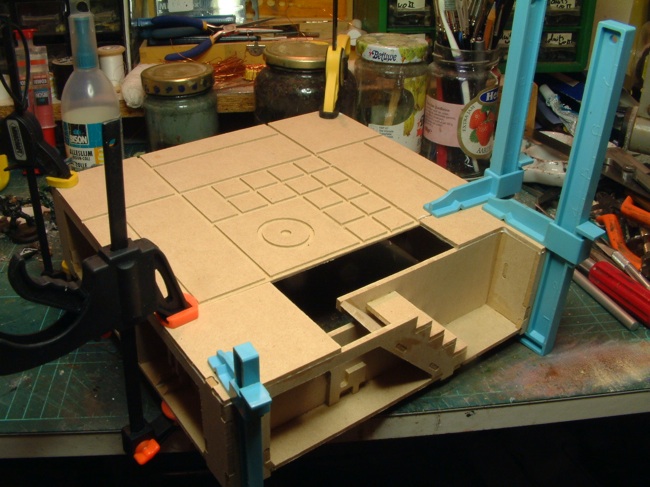
The tile assembled with the mirrored stairs, but not all of the roof pieces in place yet. To put the tile together, do not glue everything in right away: start by assembling the walls in the normal manner according to the instructions, and then add the largest one of the new top panels as well as the two smaller pieces that go in the corners before the glue dries. Make sure the remaining two (that go in the middle around the stairs) fit as well, but don't glue them yet — instead, just make sure all the pieces are flush with each other.
It is likely you will have to clamp the pieces to get them to fit right, as in the photo. When adding clamps, be careful not to disturb the pieces, and double-check their positions and the fit of the parts left out after the clamps are in place.

After the glue on the roof pieces has set, glue two offcuts from the MDF plate that the parts come in underneath the joins in the altered roof, as shown in the photo. Leave this to dry, and only then glue in the remaining top pieces. The offcuts give them more strength and make it easier to get everything nice and flat.
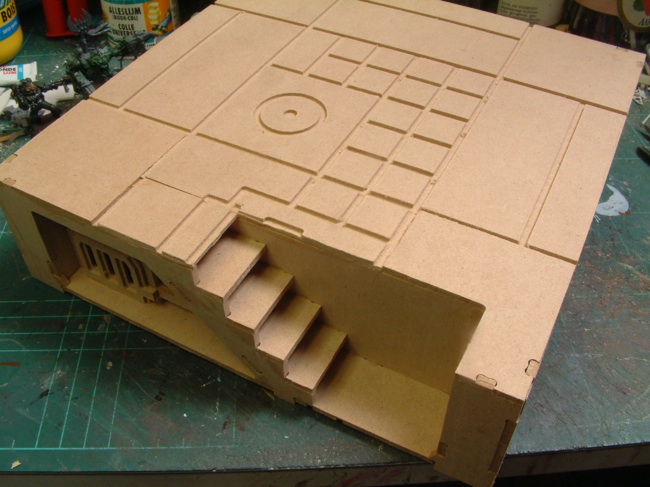
Finally, this is what the finished tile looks like with the glue dry and all the pieces in place. All it needs now is to fill the joins and add some paint.